Thursday 28 August 2014

Pumpkin Pie Cupcakes, keto-ized

Often I wonder "why do I love cooking so much, and when did that start?" and then I think, maybe the eating part?


When I lived at home I rarely cooked (mum always made the best food. duh). Now that I don't live at home, I cook every day. I love that it makes me feel busy, and like I'm learning something. I play the Sims and when I'm in the kitchen (my for real kitchen) I imagine myself with a little skill bubble slowly filling up every 10 minutes. So, definitely not just the eating part. But that is pretty nice, too.


Fortunately, I didn't start out by lighting my oven and myself on fire every other time I used it. But learning the ropes in my own kitchen is what got me to stick to keto the first time, and what's keeping me going this time. I love experimenting, and I love making food that makes me feel full, but not like an absolute pile of steaming shit that wants to lay around on the floor all day and stink up the place. Errr... Carbs and I have a complicated relationship.

ANYWHOODLES. Someone, somewhere, mentioned pumpkin pie cupcakes to me. Can you believe that? Pumpkin pie cupcakes. At first I thought, that is a dessert that is trying to be a lot of things. Then I thought, that dessert is trying to be a lot of delicious things. Delicious things that belong in my mouth, and your mouth, and everyone else's mouth. Unfortunately, it is not a keto-friendly recipe. WELL. That got me excited! I love making carby recipes keto-friendly! No, I didn't bother checking if someone had already done it. I wanted to try my hand at it and see how much I've learned.


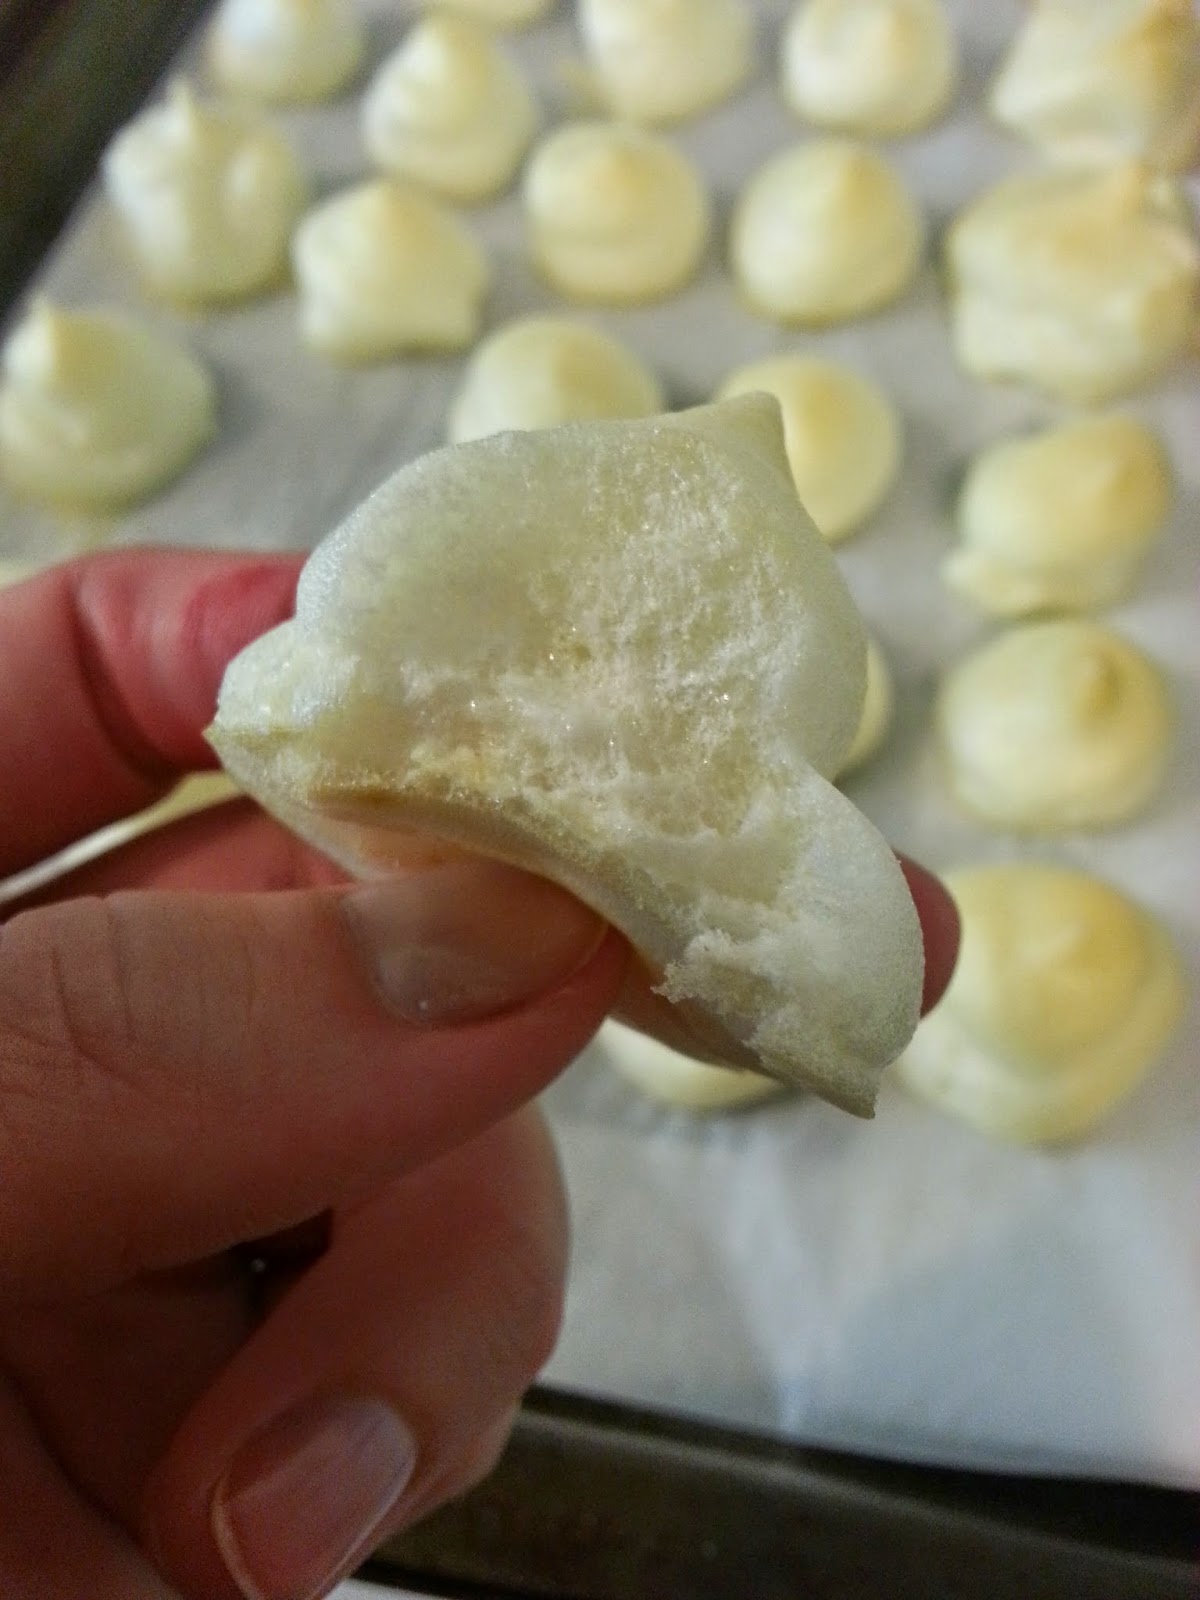
I actually have two recipes for you in this post. TWO. When I read the Irresistible Pumpkin Pie Cupcakes recipe I had many ideas of what to use for substitution. Of course, in place of flours my go to has always been almond flour, coconut flour, shredded coconut, or flaxmeal (usually a combination of a few). Some of the other stuff gave me a few AHA! moments. For example, evaporated milk, thick and sugary. At first I thought of that low-carb, low-cal unsweetened almond milk. But almond milk is seriously thin. So, something thicker but still milk-like. Cream? Easily. How about coconut milk? Yes! I had never baked with it before, so this was a great opportunity.


Left: Almond & Coconut Pumpkin Pie Cupcakes
Right: Coconut Pumpkin Pie Cupcakes

My primary concern at the planning stage was whether the flavour from the coconut flour and coconut milk would over-power that delicious pumpkin pie taste. Let me tell you right now, it did not. My SO loathes coconut and he had no idea I had used it until I said so. If you try the batter (I know you all do it) before you cook it, you can taste coconut for sure. Once baked you'll really have to pay attention to pick up the flavour. 


Ingredients

Almond & Coconut Pumpkin Pie Cupcakes


  • 15 oz pumpkin puree (not pumpkin pie filling)
  • 3/4 c (~175ml) coconut milk, room temperature (canned, not a carton of coconut drink, and not coconut water!)
  • 2 large eggs, whole
  • 3/4 c granulated sweetener, or equivalent (I used Splenda)
  • 1/3 c almond flour
  • 1/3 c coconut flour
  • 1 tsp vanilla extract
  • 2 tsp pumpkin pie spice
  • 1/4 tsp salt
  • 1/4 tsp baking powder
  • 1/4 tsp baking soda
Nutritional information, per serving (12): 83 cals, 5g net carbs (8g carbs, 3g fiber), 5g fat, 3g protein
Nutritional information, whole batch: 991 cals, 69g net carbs (99g carbs, 30g fiber), 62g fat, 36g protein

Almond & Coconut 
Calories
Net Carbs (g)
Carbs (g)
Fiber (g)
Fat (g)
Protein (g)
15 oz pumpkin puree
177
29
41
12
0
6
3/4 c coconut milk
306
10
10
0
29
3
2 large eggs
147
1
1
0
10
13
3/4 c Splenda
0
18
18
0
0
0
1/3 c almond flour
183
2
6
4
16
7
1/3 c coconut flour
154
7
20
13
7
7
2 tsp pumpkin pie spice
12
1
2
1
0
0
1 tsp vanilla extract
12
1
1
0
0
0

Coconut Pumpkin Pie Cupcakes

My huge can of pumpkin puree, and my can of coconut milk, had enough contents for two batches of cupcakes. So why not? I got to experiment a little more, too.


  • 15 oz pumpkin puree (not pumpkin pie filling)
  • 3/4 c (~180ml) coconut milk, room tempurature (canned, not a carton of coconut drink, and not coconut water!)
  • 2 large eggs, whole
  • 1/4 c sugar-free syrup
  • 1/2 c granulated sweetener, or equivalent (I used Splenda)
  • 2/3 c coconut flour
  • 1 tsp vanilla extract
  • 2 tsp pumpkin pie spice
  • 1/4 tsp salt
  • 1/4 tsp baking powder
  • 1/4 tsp baking soda
Nutritional information, per serving (12): 89 cals, 6g net carbs (10g carbs, 4g fiber), 5g fat, 3g protein
Nutritional information, whole batch: 1067 cals, 79g net carbs (124g carbs, 45g fiber), 55g fat, 38g protein

Coconut 
Calories
Net Carbs (g)
Carbs (g)
Fiber (g)
Fat (g)
Protein (g)
15 oz pumpkin puree
177
29
41
12
0
6
3/4 c coconut milk
306
10
10
0
29
3
2 large eggs
147
1
1
0
10
13
1/2 c Splenda
0
12
12
0
0
0
1/4 c E.D. Smith SF Syrup
40
9
9
0
0
0
2/3 c coconut flour
373
16
48
32
16
16
2 tsp pumpkin pie spice
12
1
2
1
0
0
1 tsp vanilla extract
12
1
1
0
0
0

Damn good thing I made both batches within a day of each other. We've been eating them like crazy, but I wanted to compare the two. I'll do a break down for you.


Left: Almond & Coconut Pumpkin Pie Cupcakes
Right: Coconut Pumpkin Pie Cupcakes 
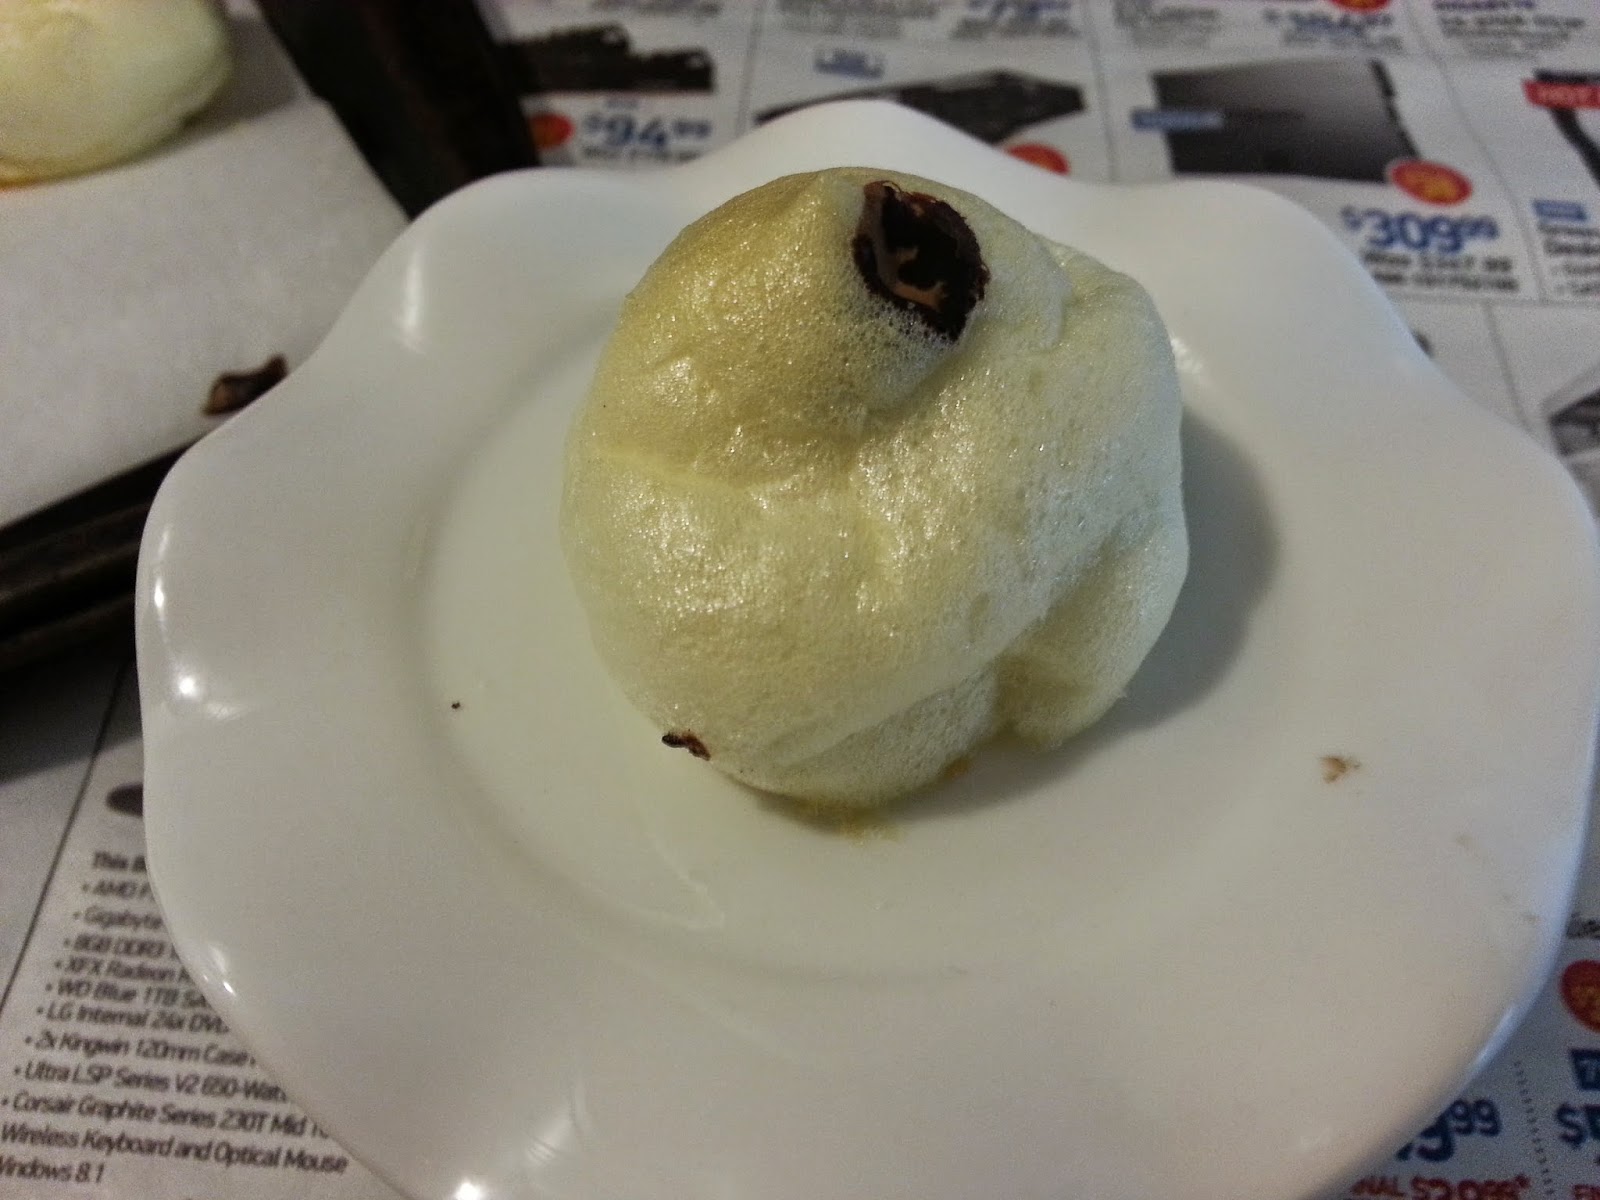
  • Appearance: Neither of these batches came out orange* which left me mildly disappointed. Both batches deflated a small amount after cooling, the coconut ones coming out just a tad smaller than their almond counterparts. 
  • Texture: Both batches are moist in general (they should be, since they're like a pie), but the almond ones came leave you feeling a little thirstier than do the coconut ones. In addition, the almond flour ones have a slightly grainy texture as it is difficult to incorporate the almond as thoroughly as you can with coconut flour. The coconut ones seem to retain their moisture better and have a smoother texture.
  • Taste: Both taste like pumpkin pie, but with a little doughy texture added in. Think of these as individual pumpkin pies, not cupcakes, or you'll be entirely disappointed. As mentioned, the coconut flavour is difficult to pick up in either recipe, especially once you add whipped cream.
  • Overall: The SO and I both prefer the coconut pumpkin pie cupcakes for the simple fact that they are less grainy (even though the almond ones are barely that grainy). They're also a little more moist. All in all, though, they are basically the same.
*Note: If you really, really want your cupcakes to be more orange than brown, make home-made pumpkin puree from fresh pumpkins! Store-bought stuff is more of a browny-orange.

Directions
Set your coconut milk out on the counter for half an hour to bring it to room temperature. Preheat your oven to 350F. Prep a 12 cup muffin pan however you desire. I did the first batch in cupcake liners, and the second I greased the pan. I have no preference. 
Mix all your dry ingredients in a bowl and set aside: 1/2 c or 3/4 c sweetener, 1/3 calmond flour and 1/3 coconut flour (or 2/3 c coconut flour), 2 tsp pumpkin pie spice mix, 1/4 tsp both baking soda and powder, 1/4 tsp salt.


Now we're going to prep the wet stuff. Once your coconut milk is at room temperature, stir it thoroughly. Using a hand or stand mixer, combine your wet ingredients: 15 oz pumpkin puree, 3/4 cup coconut milk, 2 eggs, 1/4 c SF syrup (if using), 1 tsp vanilla. Once combined, add dry mix to wet and continue.
Fill your muffin pan 2/3 of the way in each cup. Top them off if you have left over batter. I used a squeeze ice cream scoop for this part, then topped the cups off and flattened them a bit.


Bake your cupcakes at 350F for 15 minutes. Remove from heat and let cool in the pan for 10-15 minutes, then delicately remove them and chill in the fridge for at least 20 minutes. Serve with whipped cream!


Pumpkin season, folks!
xo, Jennifer


Zen loves pumpkin!

Wednesday 27 August 2014

[CopyCat] Sugar-Free Meringues

If you've been following my blog for a long time you might remember that I posted two brownie recipes a long time ago. They were alright, chocolaty enough, but ultimately reminded me of a cake rather than a brownie. I ended up taking them down, unhappy with the results. Recently, however, my mum made some brownies which of course made me crave them and wish I had done follow-up recipes to my old brownie posts. Well... I didn't. Then Elizabeth over at Up Late Anyway posts this recipe and I knew immediately that I must try it.

One of the first things I thought while reading through that post was "SIX egg yolks?! What the crap am I going to do with the whites?". For recipes that call for egg whites I typically add the yolks to scrambled eggs, or pan fry them inside slices of avocado. I did not want egg white scrambled eggs, though. Wondering how long egg whites could last in my fridge, I fondly recalled my mum's lemon meringue pie, which she always made during Thanksgiving or Christmas. Mmm! It was helping her with those pies that taught me what the difference between a "soft peak" and a "stiff peak" is... mmm, lemon...

I digress. Meringue. What kind of pie could I make low-carb that would taste kick-ass with a meringue topping? Hmm... Not pie. Cookies? "Cookies"! Honestly I had never heard of "meringues" before this adventure, but I figured if a meringue topping could be done, surely bite-sized pieces could, too. I did some digging around because I wasn't sure how whipped egg whites would hold up with sweetener, and came across a recipe posted on All Day I Dream About Food. I learned that sweetener will not actually deflate my whipped eggs (which I feared), and also that meringues are a real dessert.

So, I bring you low-carb, gluten-free meringues a la ADIDAF. I'm going to try and include a lot of tips in this post for how to get your meringue just right, so pay attention!

These treats are so light and airy, and have a similar taste to crispy marshmallows. When I eat one, all I can think of is roasting marshmallows over a fire until the outer edge is crispy, then pulling it off and eating it, only to roast the inside again. These are a must-try, especially if you've just made Up Late Anyway's brownies! It only makes sense, clearly.

Excuse the newspaper. My kitchen was undergoing a mini make-over :)!

---
Ingredients

*Note: "Nutritional Info" does not include optional ingredients. See "Optional Filler Ingredients" below.
Nutritional information, per serving (50): 2 cals, 0g net carbs (0g carbs, 0g fiber), 0g fat, 0g protein
Nutritional information, whole batch: 111 cals, 13g net carbs (13g carbs, 0g fiber), 0g fat, 0g protein


Ingredients
Calories
Net Carbs (g)
Carbs (g)
Fiber (g)
Fat (g)
Protein (g)
6 egg whites
103
1
1
0
0
0
1/2 cup splenda
0
12
12
0
0
0
1/2 tsp vanilla extract
6
0
0
0
0
0
1/4 tsp cream of tartar
2
0
0
0
0
0
1/8 tsp salt
0
0
0
0
0
0

As pictured above, I drizzled some melted dark chocolate over my meringues... because why not? I also did something else with the chocolate. STAY TUNED!


Optional Ingredients
Calories
Net Carbs (g)
Carbs (g)
Fiber (g)
Fat (g)
Protein (g)
1 oz Lindt 85%
115
5
8
3
9
3

Tools

To properly create perfect meringue you need a particular set of tools. No exceptions. Note: all your tools must be thoroughly cleaned and dried. If they feel at all like there is any amount of grease present, wash them again. Egg whites do not like fat or other moisture.

  • Metal or glass mixing bowl (NOT plastic!)
  • Hand or stand mixer (not a whisk, unless you really want to work out your arm!)
Directions
First, separate your egg whites (6!) while the eggs are still cold - they separate easiest this way. Be careful with handling and do your best to not touch the egg whites while separating. If any amount of yolk ends up in the whites, be sure to remove it carefully before continuing (but not with your fingers!). Egg whites will not whip up properly if there is any fat present (including oils from your fingers, or leftover grease on a dish!).
Next, your egg whites should be at room temperature before you begin to work with them. This will allow your whites to whip faster and to a greater volume. While you wait for the egg whites to reach room temperature, preheat the oven to 250F and line two cookie sheets with parchment paper. Yes, you definitely need two.
When the eggs have reached room temperature, we'll beat them until they form firm peaks (in between soft and stiff):
  • Soft peaks: Lifting the beater from the eggs, peaks form for only a couple seconds, then fall into themselves. 
  • Firm peaks: Lifting the beater from the eggs, peaks form with ridges, and only the tips fall back. 
  • Stiff peaks: Lifting the beater from the eggs, peaks form with obvious ridges and the tips remain upright.
Once you've formed soft peaks, begin to gradually add your powdered or granulated sweetener. For 6 whites I used 1/2 cup of sweetener. Many "real" meringue recipes suggest 1-2 tbsp of sugar (so, sweetener) for each egg white. 
You'll also want to add 1/4 tsp of cream of tartar and 1/8 tsp of salt before you begin forming firm peaks. FYI: Cream of tartar is used as a stabilizer in a variety of tasty treats. For example, most (if not all) recipes using egg whites as their primary ingredient call for cream of tartar, as well as candies, and many types of frostings (including whipped cream).
Continue beating your eggs until they reach firm peaks (not stiff). When ready, spoon out your mixture onto the cookie sheets or use a piping bag. I made 50 bite-sized meringues, but you could easily make half that many larger. I began by spooning my eggs out but it felt tedious and I got pretty annoyed/impatient, so I switched to a piping bag.
My baking temperatures and times are a little different than the recipe on ADIDAF. Bake your meringues at 250F for 20 minutes, then 200F for another 20 minutes. At about the halfway mark I switched the positions of the cookie sheets because my top sheet was browning faster than the lower one. I prefer the look of lightly browned meringues, so I ended up adding about 10 minutes to the end of the bake. 
This is only half of what I made. Top right: large, spooned-out meringues that irritated me.
Remove your meringues from the oven and pop one in your mouth, like, immediately. MMM! Read on if you want to know what to do with the chocolate...
I had eaten 5 by this point, and taken some to the SO at work...
I melted 1 oz of Lindt 85% extra dark chocolate and drizzled it over most of my meringues. Break apart the chocolate, toss it in a baggie, and microwave for 10-15 second intervals until melted. Cut a tiny hole in the corner of the bag, and decorate away! 
I also poked holes in a few with a meat thermometer (couldn't find anything else on the fly!) and squeezed chocolate into them. So when you bite down you get a soft, airy, marshmallow-y texture, and a chunk of dark chocolate!

Please enjoy!
xo, Jennifer

Monday 25 August 2014

Cheesecake (New York Style, Almond Crust)

Cheesecake is one of our favourite desserts in this household, and I've been making low-carb cheesecakes since my first time doing keto. They're fun to cook and easy to adjust for flavours. I'm not sure why I never posted a recipe! I have plenty of pictures and instructions, so I'm going to post them today. This recipe is going to be for a New York style cheesecake, but you can expect chocolate drizzle with brownie crust, chocolate swirl, maple pecan, and strawberry flavours soon enough!
Left: New York cheesecake bars with almond coconut crust
Right: peanut butter fudge bars with almond coconut crust
---

Ingredients
Ignore "sugar"!!!
This picture is from when I made cheesecake for my mum, and she dislikes hates sweeteners
Crust

The crust we will be using for this, whether you're making bars or a round cheesecake, is almond coconut crust. If you're adding flavours to this cheesecake and you want to change up the crust, swap out the coconut for another kind of filler, such as crushed pecans.

  • 3/4 cup ground almonds
  • 1/4 unsweetened coconut, shredded
  • 1/4 cup granulated sweetener, or equivalent (I'm  using Splenda)
  • 1/4 cup unsalted butter, melted
Filling


  • 2 bricks (16 oz) plain cream cheese, softened
  • 1/2 cup granulated sweetener, or equivalent (I'm using Splenda)
  • 1/4 cup (4 tbsp) heavy whipping cream
  • 2 large eggs, whole
  • 1 tbsp vanilla extract
  • pinch of salt (optional)
Nutritional info, per serving (12): 239 cals, 4g net carbs (5g carbs, 1g fiber), 22g fat, 5g protein
Nutritional info, whole batch: 2867 cals, 49g net carbs (59g carbs, 10g fiber), 263g fat, 61g protein

Ingredients
Calories
Net Carbs (g)
Carbs (g)
Fiber (g)
Fat (g)
Protein (g)
3/4 cup ground almonds
412
6
14
8
36
15
1/4 cup unsweetened coconut
71
1
3
2
7
1
1/4 cup unsalted butter
407
0
0
0
46
0
3/4 cup Splenda
0
18
18
0
0
0
16 oz plain cream cheese
1600
16
16
0
144
32
2 large eggs
140
2
2
0
10
12
1/4 cup heavy whipping cream
200
4
4
0
20
1
1 tbsp vanilla extract
37
2
2
0
0
0


---

Directions:
We're going to start off by making the crust. First, preheat your oven to 350F and grease the bakeware you plan on using (a kick-ass brownie pan like mine, a 9 or 8 inch springform pan, ramekins, etc).
Melt 1/4 cup of unsalted butter. Mix dry crust ingredients in a bowl and add the melted butter. Spread the dough throughout your pan. I usually start from the middle and work my way out (using my fingers). It might look like you don't have enough, but you do: 
You can choose whether to bake your crust or not. You aren't using any ingredients in the crust that will harm you if you don't bake it now, and you will be baking it later. If you decide to bake the crust, pop it in the oven for roughly 10 minutes or until lightly browned. Be careful not to burn the crust. After baking (or if you didn't bake it), put your dough in the fridge for 20-30 minutes.
While your dough is chilling, make the filling for your cheesecake. An easy way to soften cream cheese is to leave it on the counter for a few hours the day you know you're going to make cheesecake. If you didn't do that, however, just pop your cream cheese in a microwavable bowl and microwave it for 20-30 seconds. To make softening easier, cut the cream cheese into slices/cubes/portions (by the way, the same works for butter!). 
I left these out all afternoon so I didn't need to bother chopping them up. 
Whip up your filling ingredients (16 oz cream cheese, 1/4 cup heavy whipping cream, 2 eggs, 1 tbsp vanilla, 1/2 cup granulated sweetener, and a pinch of salt). Unfortunately I don't have a picture of what the above looked like after mixing. 
This is from the cheesecake bars I made for my mum.
I picked up this kick-ass brownie pan from Stokes for $11 and I LOVE it.
Carefully pour your filling into your crust-lined pan. The crust is delicate so try not to push it around. Bake your cheesecake at 350F for 45 minutes to an hour.
Note: I don't use water baths for these, but if you're concerned about your cheesecake drying out, go ahead and use a water bath. To do so, wrap your pan in foil to make it water tight, put the pan in roasting bakeware and add some water. Check out this video for some tips on this process. 
This is one of the first few cheesecakes I ever made with this recipe.
A New York style cheesecake with a brownie base. Mmm!
Carefully remove your cheesecake from the oven and let it cool for 10-20 minutes, then place in the refrigerator for about 3 hours.
Send me some pictures if you make this cheesecake! I'd love to see them!

xo,
Jennifer

Saturday 23 August 2014

Simple Sloppy Joe Meat

I really love me some saucy, sloppy meat. For a while when you start doing low-carb you think you'll never get to have recipes like chili, spaghetti, and sloppy Joes again. After all, these things are typically loaded with brown beans, kidney beans, onions, tomatoes, etc.  After a while of cooking for this way of eating the reality becomes clear. You can still have these things, and easily make them low carb! Unlike low-carb baked goods, you don't even have to break the bank buying super specialty items like almond and coconut flour. Plus low-carb dinners are often less complicated/ingredient heavy than their full-carb counterparts. Even if you can't replicate mom's cooking, you can still have some staple keto recipes.

Earlier I posted my cheesy sloppy Joe chicken (which I'll be making again... soon), so today I'm making a dedicated post just for the sloppy meat.


As mentioned, I use this simple low-carb mix with these egg buns, but I've recently used it with a modified version of this stromboli dough. I even considered making extra batches and freezing them for later, or putting some in the fridge for lunches. I'd like to try this recipe in my crustless quiche, as well as using it for meat pie. Who doesn't love meat pie?

this is a stromboli dough pocket stuffed with sloppy meat :)
---
Ingredients

  • 1 lb ground beef, lean or medium (I am using lean. It was on sale! Use medium if you want a higher fat content)
  • 1/4 cup sugar free ketchup (I used this)
  • 1/4 cup tomato sauce (I went with Classico Tomato & Basil, but you can use any kind you have, from pasta sauces to pizza sauces, or even just use tomato paste)
  • 1 tbsp hot sauce (Frank's RedHot Buffalo Sauce is my choice)
  • 1/2 tbsp garlic powder

The tiny Club House jar contains Frank's RedHot Buffalo sauce and
spices which I mixed and had leftover from chicken wing night!
*Note: "Nutritional Info" does not include optional ingredients. See "Optional Filler Ingredients" below.
Nutritional Info, per serving (6): 172 cals, 3g net carbs (3g carbs, 0g fiber), 12g fat, 16g protein
Nutritional Info, whole batch: 1029 cals, 13g net carbs (15g carbs, 2g fiber), 69g fat, 93g protein


Sloppy Joe Meat Ingredients
Calories
Net Carbs (g)
Carbs (g)
Fiber (g)
Fat (g)
Protein (g)
1lb lean ground beef
951
0
0
0
68
91
1/4c sugar-free ketchup
20
4
4
0
0
0
1/4c tomato sauce
25
4
5
1
1
1
1 tbsp hot sauce
5
0
0
0
0
0
1/2 tbsp garlic powder
28
5
6
1
0
1

Optional Filler Ingredients
Calories
Net Carbs (g)
Carbs (g)
Fiber (g)
Fat (g)
Protein (g)
1/2c white mushroom pieces
8
1
1
0
0
1
1/2c canned wax beans
15
2
3
1
0
1
1/2c chopped zucchini
10
1
2
1
0
1
1/2c chopped cauliflower
13
2
3
1
0
1

While this post is my "Simple Sloppy Joe Meat" recipe, you can include a filler or two to amp up the flavour and add variety to each bite! I've included four possibilities to get you started (above). For every 1/2 cup of filler you include, be sure to include 1tbsp each of ketchup and/or tomato sauce, rather than just adding more water (we don't want to dilute the flavour of the sauce!).

A word about ketchup: if you don't have or cannot find sugar-free ketchup, you can use regular ketchup. Regular ketchup definitely has more carbs, so make sure you keep track of how much you use. I prefer the sugar-free ketchup in this recipe because it has more of a tangy vinegary flavour that I associate with sloppy joe sauces from my childhood. Alternatively, you could omit the ketchup and just use more tomato sauce, or a low-carb BBQ sauce if you have it. Play with the flavour and see what you like best!

---
Directions
Start out by putting your ground beef in a 3 quart sauce pan. Add 1/2 cup of water and cook on medium-low until most of the meat has browned.
Some meat is still pink. No problem, we'll be cooking it some more later
Using a collander, strain your beef. If you're adding any fillers, let the beef rest in the strainer while you cook them. Toss your choice of filler in the sauce pan and cook until soft. If you're using a hard veggie, such as cauliflower, you may want to steam or boil it first.
Once your filler is at the desired doneness, add back your meat and mix them together on low heat.
Add your sauces (1/4c sugar free ketchup, 1/4c tomato sauce, 1 tbsp hot sauce) and 1/2 tbsp of garlic powder to the pan. If you prefer spicy foods, don't be afraid to add as much hot sauce as you desire. 
Add back 1 tbsp of hot water at a time if you want a saucier texture. Be careful of adding too much, as we are using a small amount of sauce to begin with so it will be easy to dilute. If you find you have diluted the sauce, just add back a tbsp at a time of ketchup or tomato sauce.  
Once everything is mixed thoroughly and cooked (5-10 minutes), add your sloppy joe meat to whatever other food you're using. Eggs? Tasty! Low-carb wraps? Convenient! Keto buns? Filling! Stromboli? Delicious, obviously.  
I added the meat to some rolled out stromboli dough and made "hot pockets" out of them. Yum!

As always, please enjoy.
xo, Jennifer