Showing posts with label cookies. Show all posts

Wednesday, 27 August 2014

[CopyCat] Sugar-Free Meringues

If you've been following my blog for a long time you might remember that I posted two brownie recipes a long time ago. They were alright, chocolaty enough, but ultimately reminded me of a cake rather than a brownie. I ended up taking them down, unhappy with the results. Recently, however, my mum made some brownies which of course made me crave them and wish I had done follow-up recipes to my old brownie posts. Well... I didn't. Then Elizabeth over at Up Late Anyway posts this recipe and I knew immediately that I must try it.

One of the first things I thought while reading through that post was "SIX egg yolks?! What the crap am I going to do with the whites?". For recipes that call for egg whites I typically add the yolks to scrambled eggs, or pan fry them inside slices of avocado. I did not want egg white scrambled eggs, though. Wondering how long egg whites could last in my fridge, I fondly recalled my mum's lemon meringue pie, which she always made during Thanksgiving or Christmas. Mmm! It was helping her with those pies that taught me what the difference between a "soft peak" and a "stiff peak" is... mmm, lemon...

I digress. Meringue. What kind of pie could I make low-carb that would taste kick-ass with a meringue topping? Hmm... Not pie. Cookies? "Cookies"! Honestly I had never heard of "meringues" before this adventure, but I figured if a meringue topping could be done, surely bite-sized pieces could, too. I did some digging around because I wasn't sure how whipped egg whites would hold up with sweetener, and came across a recipe posted on All Day I Dream About Food. I learned that sweetener will not actually deflate my whipped eggs (which I feared), and also that meringues are a real dessert.

So, I bring you low-carb, gluten-free meringues a la ADIDAF. I'm going to try and include a lot of tips in this post for how to get your meringue just right, so pay attention!

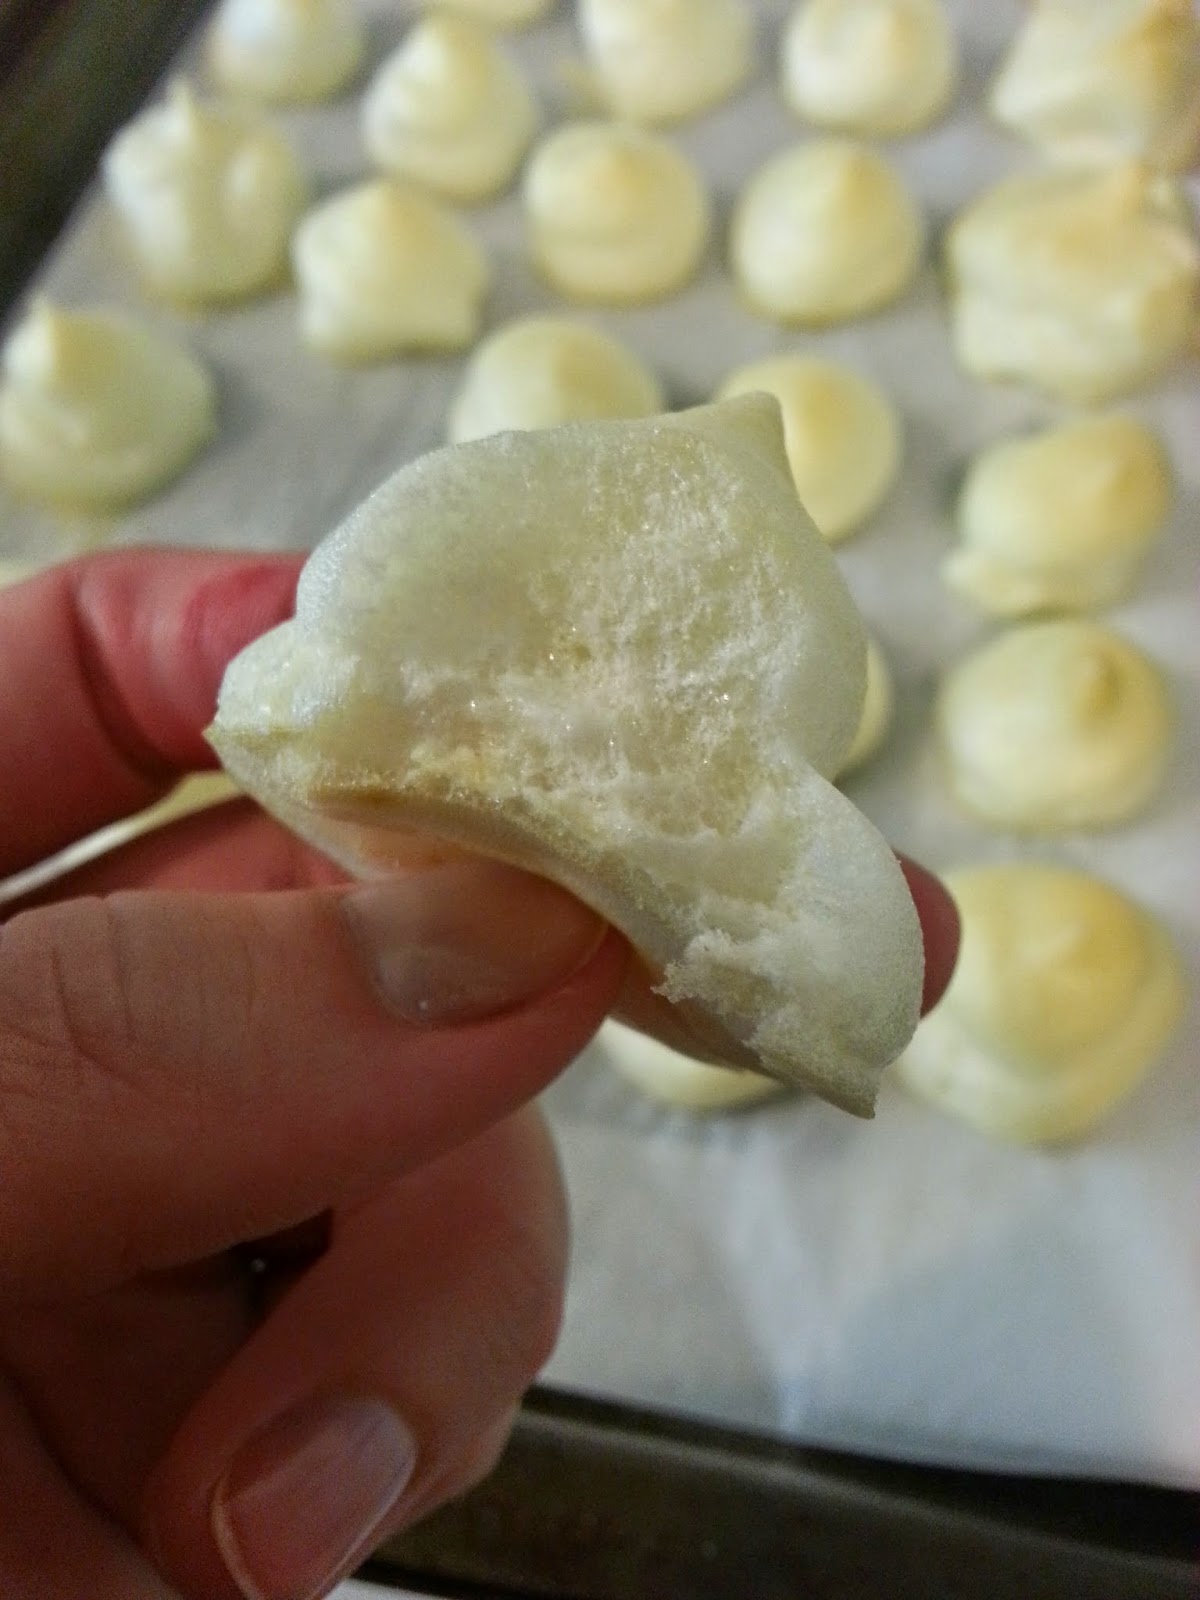
These treats are so light and airy, and have a similar taste to crispy marshmallows. When I eat one, all I can think of is roasting marshmallows over a fire until the outer edge is crispy, then pulling it off and eating it, only to roast the inside again. These are a must-try, especially if you've just made Up Late Anyway's brownies! It only makes sense, clearly.
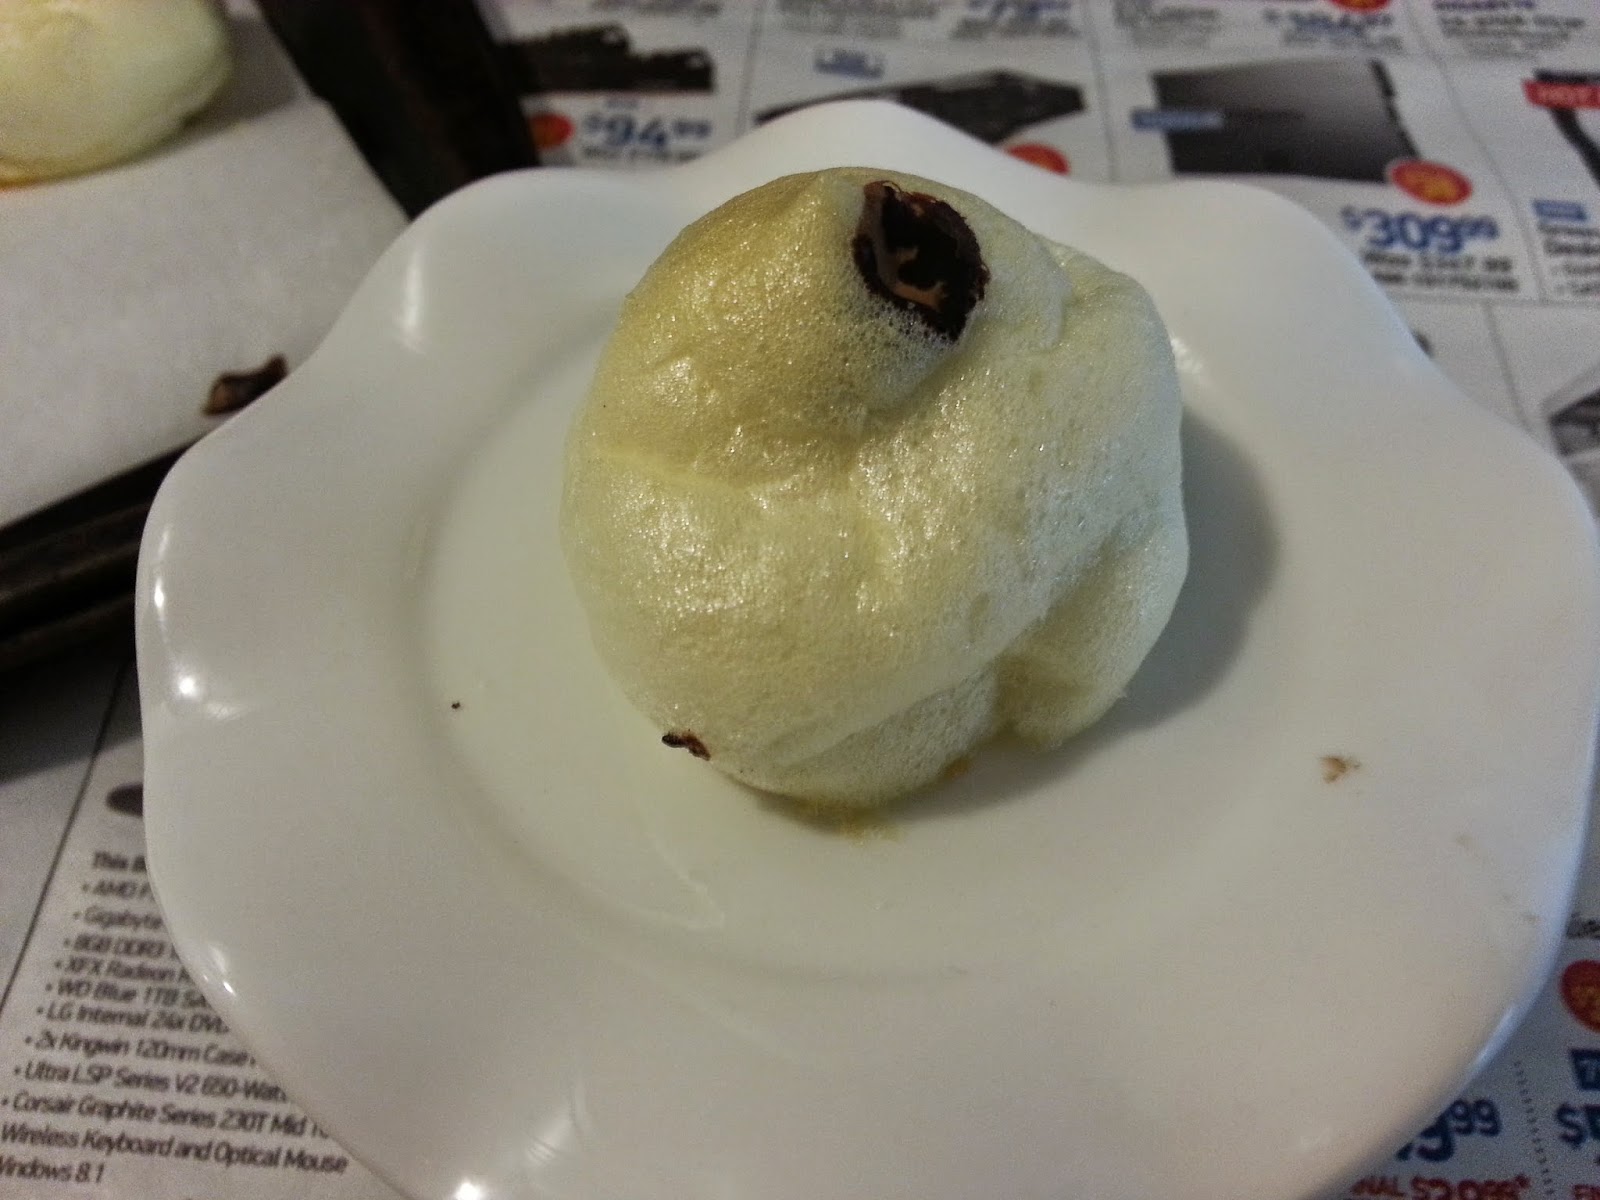
Excuse the newspaper. My kitchen was undergoing a mini make-over :)!

---
Ingredients

*Note: "Nutritional Info" does not include optional ingredients. See "Optional Filler Ingredients" below.
Nutritional information, per serving (50): 2 cals, 0g net carbs (0g carbs, 0g fiber), 0g fat, 0g protein
Nutritional information, whole batch: 111 cals, 13g net carbs (13g carbs, 0g fiber), 0g fat, 0g protein


Ingredients
Calories
Net Carbs (g)
Carbs (g)
Fiber (g)
Fat (g)
Protein (g)
6 egg whites
103
1
1
0
0
0
1/2 cup splenda
0
12
12
0
0
0
1/2 tsp vanilla extract
6
0
0
0
0
0
1/4 tsp cream of tartar
2
0
0
0
0
0
1/8 tsp salt
0
0
0
0
0
0

As pictured above, I drizzled some melted dark chocolate over my meringues... because why not? I also did something else with the chocolate. STAY TUNED!


Optional Ingredients
Calories
Net Carbs (g)
Carbs (g)
Fiber (g)
Fat (g)
Protein (g)
1 oz Lindt 85%
115
5
8
3
9
3

Tools

To properly create perfect meringue you need a particular set of tools. No exceptions. Note: all your tools must be thoroughly cleaned and dried. If they feel at all like there is any amount of grease present, wash them again. Egg whites do not like fat or other moisture.

  • Metal or glass mixing bowl (NOT plastic!)
  • Hand or stand mixer (not a whisk, unless you really want to work out your arm!)
Directions
First, separate your egg whites (6!) while the eggs are still cold - they separate easiest this way. Be careful with handling and do your best to not touch the egg whites while separating. If any amount of yolk ends up in the whites, be sure to remove it carefully before continuing (but not with your fingers!). Egg whites will not whip up properly if there is any fat present (including oils from your fingers, or leftover grease on a dish!).
Next, your egg whites should be at room temperature before you begin to work with them. This will allow your whites to whip faster and to a greater volume. While you wait for the egg whites to reach room temperature, preheat the oven to 250F and line two cookie sheets with parchment paper. Yes, you definitely need two.
When the eggs have reached room temperature, we'll beat them until they form firm peaks (in between soft and stiff):
  • Soft peaks: Lifting the beater from the eggs, peaks form for only a couple seconds, then fall into themselves. 
  • Firm peaks: Lifting the beater from the eggs, peaks form with ridges, and only the tips fall back. 
  • Stiff peaks: Lifting the beater from the eggs, peaks form with obvious ridges and the tips remain upright.
Once you've formed soft peaks, begin to gradually add your powdered or granulated sweetener. For 6 whites I used 1/2 cup of sweetener. Many "real" meringue recipes suggest 1-2 tbsp of sugar (so, sweetener) for each egg white. 
You'll also want to add 1/4 tsp of cream of tartar and 1/8 tsp of salt before you begin forming firm peaks. FYI: Cream of tartar is used as a stabilizer in a variety of tasty treats. For example, most (if not all) recipes using egg whites as their primary ingredient call for cream of tartar, as well as candies, and many types of frostings (including whipped cream).
Continue beating your eggs until they reach firm peaks (not stiff). When ready, spoon out your mixture onto the cookie sheets or use a piping bag. I made 50 bite-sized meringues, but you could easily make half that many larger. I began by spooning my eggs out but it felt tedious and I got pretty annoyed/impatient, so I switched to a piping bag.
My baking temperatures and times are a little different than the recipe on ADIDAF. Bake your meringues at 250F for 20 minutes, then 200F for another 20 minutes. At about the halfway mark I switched the positions of the cookie sheets because my top sheet was browning faster than the lower one. I prefer the look of lightly browned meringues, so I ended up adding about 10 minutes to the end of the bake. 
This is only half of what I made. Top right: large, spooned-out meringues that irritated me.
Remove your meringues from the oven and pop one in your mouth, like, immediately. MMM! Read on if you want to know what to do with the chocolate...
I had eaten 5 by this point, and taken some to the SO at work...
I melted 1 oz of Lindt 85% extra dark chocolate and drizzled it over most of my meringues. Break apart the chocolate, toss it in a baggie, and microwave for 10-15 second intervals until melted. Cut a tiny hole in the corner of the bag, and decorate away! 
I also poked holes in a few with a meat thermometer (couldn't find anything else on the fly!) and squeezed chocolate into them. So when you bite down you get a soft, airy, marshmallow-y texture, and a chunk of dark chocolate!

Please enjoy!
xo, Jennifer

Sunday, 1 June 2014

Peanut Butter Chocolate Chip Cookies

Obviously if you have a perfect cookie that can act as a base, you have to use it as a base... and what is better than a peanut butter cookie base!? I mean, if you don't like peanut butter, more for me! And all my friends. We all love peanut butter.

These bad boys use the peanut butter cookie base I posted earlier, but with chocolate! So, we have, peanut butter chocolate chip cookies. Right!

Update: fixed total nutritional values.
Look at it! LOOK.

Nutritional Values (with 2oz of Lindt 85% dark chocolate):

Calories
NetCarbs
Carbs
Fiber
Fat
Protein
Whole recipe
1542
77
103
26
129
60
Servings: ~12
129
7
9
2
11
5
Servings: ~24
64
3
4
1
5
3


Nutritional Values (with 1oz of Lindt 85% dark chocolate):

Calories
NetCarbs
Carbs
Fiber
Fat
Protein
Whole recipe
1372
71
92
21
115
57
Servings: ~12
114
6
8
2
10
5
Servings: ~24
57
3
4
1
5
2

Prep Time: about 15 minutes
Cooking Time: less than 10 minutes

Your Ingredients:
  • base recipe, plus:
  • between 1 and 2 oz of dark chocolate, crushed/chopped, or dark chocolate chips*
Anything over 65% dark should be good, if you can find it. I haven't been able to find chips darker than 50%, but I used a Lindt 85% bar. An ounce is about 30g (28g), or 3 squares. I used 2oz the first time I made these but I think I would cut back to 1oz just to reduce the carbs even more (though, chocolate... so... maybe not! As you can see above, it is not that much of a difference anyway.). 


Your Tools:
  • a mixing bowl
  • a spoon or spatula
  • a cookie sheet and parchment paper or baking spray (or both)
The Directions:
Follow the directions found here, but don't crisscross your cookies. There's chocolate bits in there, silly. 
xo,
Jennifer

[CopyCat] Peanut Butter Cookies

One of my favourite things to bake with is peanut butter. I love the flavour and the texture, and just generally find it very satisfying. This recipe is not one that originated from my kitchen, but one I adapted and altered for other recipes. I really enjoy this recipe as the cookie is delicate, soft, and light, and isn't overpoweringly sweet. A word of caution: these cookies are fragile. Be careful when moving them, storing them, etc. The S.O. dropped a tin of 2 batches of these and essentially shattered the majority of them.

Fun fact: these cookies passed the non-low-carber taste test. While playing with the recipe I ended up with 4 or 5 dozen cookies and sent them with the S.O. to work. They ate them all and some people even asked for the recipes (I had sent 3 different cookies at the time). 

These peanut butter cookies in particular come from Paula Deen's Magical Peanut Butter Cookies. I only made a couple changes to the base recipe. I use Kraft Whipped Peanut Butter rather than creamy (though I made a batch with creamy peanut butter that turned out delicious). I lowered the baking time to about 7-8 minutes, too. Finally, I changed the batch sizes. Eighteen cookies per batch just seems weird to me for some reason, so I did 12 or 24.

The directions given are straightforward, but I will include a few words with pictures along the way.

These are the "regular" sized cookies, from a batch of 18. I prefer the batch of 32 because then I feel like I have more cookies.
Click here for the cookies in the back!

Nutritional Values:


Calories
NetCarbs
Carbs
Fiber
Fat
Protein
Whole recipe
1190
56
72
16
101
54
Servings: ~12
66
4
6
1
8
5
Servings: ~24
50
2
3
1
4
2

Prep Time: about 15 minutes
Cooking Time: less than 10 minutes

Your Ingredients:

  • 1 cup of your choice of peanut butter (As mentioned, I use Kraft Whipped Peanut Butter)
  • 1 1/3 choice granulated sweetener (I'm using Splenda)
  • 1 large egg
  • 1 teaspoon vanilla extract


Your Tools:

  • a mixing bowl
  • a spoon or spatula
  • a cookie sheet and parchment paper or baking spray (or both)

The Directions:

As I said, the directions for this recipe are pretty simple. You can follow Paula Deen's directions as per the recipe link above, or the directions I will post here (which are basically the same, but with pictures!).

Step 1 -
Preheat your oven to 350F and prepare your cookie sheet with parchment paper, baking spray/grease, or both.
Combine all your ingredients in the mixing bowl. Use a spoon or spatula, or even your hands. Don't break out one of your electric mixers. Mix thoroughly until you get a thick, sticky dough-like texture.
I had a picture of this entire batch stuck to my spatula, hanging upside down, but I can't find it :(.
Remember - thick and sticky!

Step 2 -
Prepare your dough into balls roughly the size of... a quarter in diameter. Or a gumball? If you want more cookies with the same batch, your doughballs will obviously be smaller. 


Step 3 -
Here you have at least two options, or get creative. Either press your cookies down with your thumb/fingers, or use a fork and make a fancy crisscross. If you want to make a crisscross, be sure to dip your fork in the granulated sweetener in order to prevent the cookie from sticking to the fork.
Just before popping them in the oven.
You don't need much space between the cookies because the will not expand much, if at all.

 Step 4 -
Bake your cookies for about 7 or 8 minutes, remove and let cool for a few minutes before transferring. Make sure to eat one hot out of the oven... oh, my god. Definitely do that.
xo,
Jennifer

Sunday, 9 June 2013

Avocado & Chocolate Chip Cookies

Helllllllllllllo beautiful people. I have missed chocolate chip cookies. They are very nostalgic for me. My mum always made the best ones and my favourite time to eat them was immediately out of the oven, with a small glass of milk. While I no longer ask my mum for home made chocolate chip cookies, I now know how to make my own... and much healthier! (though, missing that mother's love element...).

I am sharing this recipe because 1) avocados are a new discovery for me, having never in my life tasted one until 2013, and 2) chocolate chip cookies. These taste incredibly like "regular" chocolate chip cookies! They don't bake hard, like store-bought cookies. They bake super soft and stay soft, and taste great dipped in hot tea or coffee. Even the dough is remarkably similar to any chocolate chip cookie dough I've tasted.

I have had 8 people taste-test these cookies, and two have called me to ask for a batch. My mother, though she does not like sweetener even slightly, approved of them (but doesn't want more because the after taste of sweetener is strong for her). She has, though, asked me for the recipe so that she might make them for my step-dad. My dad wants a whole batch to himself. My brother, his GF, and her sister all loved them. And of course... My BF wants all baked goods all the time.

Needless to say I am very confident in this recipe!

Oh I would also like to prepare less experienced avocado-ers. Avocado, when cooked/baked/generally hot, has a weird and odd aftertaste. If you eat a cookie fresh out of the oven (admit it, you also love doing this. I know I'm not the only one), you will notice this slight taste. Once the cookies cool, the aftertaste disappears, and you may proceed to consume.

Let's take a look...


This picture is pretty blurry... whoops :( Guess you'll have to take a bite of your own cookie to properly see the inside

Serving Size: 1 cookie, makes 24 cookies
Nutritional Information: 85 cals, 4g of carbs & 2g of fiber (2g net carbs), 8g of fat, 2g of protein 

Prep Time: 30-40 minutes
Cooking Time: 35 minutes

Your Ingredients:
  • ~100g* fresh avocado
  • 1/2 stick of unsalted** butter, room temperature
  • 1 whole large egg
  • 2 tsp of vanilla extract (pure or artificial)
  • 1 cup of granulated sweetener (I use Splenda)
  • 1 3/4 cups of almond flour/ground almond
  • 1/2 cup of coconut, finely shredded
  • 1/4 to 1/2 tsp of salt (depending on how much you like salt... Both taste fine to me)
  • 1 tsp of baking soda
  • 1 tsp of baking powder
  • 2 oz of chopped dark chocolate, 75% cocoa or higher (I use Lindt Ecuador. 2oz = ~6 squares)
*Remove the pit before weighing. The ones I buy tend to be pretty small, and one avocado without the pit is generally 80-110g. For this recipe I used 1 and 1/4 avocado because my first one was only 74g. If your avocado is only a few (i.e. 5g) above or below 100g, that is fine. Also, any breed of avocado will work.
**You can use salted butter. If you do, omit the salt required by the recipe.

Your Tools: 
  • Two medium mixing bowls
  • A hand or stand mixer
  • Cookie sheet & parchment paper
  • Knife & cutting board
  • measuring cups/spoons & kitchen scale etc etc...
The Directions:

Step 1 -
The first thing we're going to do is work on your avocado. I have some pictures to show you how to "peel" an avocado, or you could just scoop and scrape the avocado meat from the rind. 


For either method, the first step is to cut so it can be pulled apart. Start at the stem and cut long ways, to the bottom. Make sure to cut right to the pit.


Once cut, you should be able to twist apart the two halves (like we all USED to do with Oreos). This is easier the more ripe your avocado is.

Now you'll want to remove the pit. The pit is pretty soft so a good technique is to press a knife into it and lift/wiggle it out. If you don't want to risk slipping and cutting yourself, you can slip a spoon under the pit and try to pop it out that way.

At this point you can scoop the avocado flesh out of the rind. If you do this, make sure to also scrape all the darker green flesh from the rind and use it, as it is the best for you. I find that I make a big mess this way, so you could also...


... Peel your avocado :D. I prefer this method because my avocado pieces usually look really nice after. For this recipe it doesn't make a difference, but I'll show you anyway.

Basically, start by scoring the rind on the two halves of the avocado, long ways. I only put one score on each but you can do multiple to make peeling easier.


You should be able to use your fingers to separate the rind from the flesh. I typically can pull this off just by slipping my thumb under the corner and pushing back slowly (a spoon would also work).

While this method works for me 9/10 times, unfortunately...


I made a mess of the avocado and there is a lot of meat left on the rind :(...

Oh well. Like I said, it doesn't make a difference for this recipe.


Step 2 -
Okay, great. Now that the avocado is ready, put that with your butter in a medium mixing bowl. You can cut the butter into cubes or pats to help it blend a little easier. Mix these together until creamy.
What a deliciously creamy texture :D. and yes, I am baking without the kitchen light on. not because I want to save the planet, but because I just started having to pay for my own hydro...
Next, add the egg and vanilla. Mix thoroughly. Add the granulated sweetener gradually as you mix the other things.
Step 3 -
Okay now we add everything else... but not all at once! First, all the almond flour and 1/4 cup of coconut (that is half what this recipe calls for), as well as the salt (if using), baking soda, and baking powder. Mix these ingredients on low until everything is incorporated.
Next add the chopped chocolate chips and the other 1/4 cup of coconut. Mix these together with a spoon or spatula, not the mixer.
I have this wonderfully cheap flexible "cutting board". It isn't silicone or anything, but it is marvelous for chopping and pouring things with minimal mess!

Step 4 -
Okay, everything's mixed and ready to go, right? Wrong. Now we chill the dough. Okay we don't have to chill the dough, but I find that the cookies are easier to form and also bake better when the dough is cold. Skip chilling if you are as impatient as I often am. If you want to chill the cookie dough, just pop the whole bowl as-is into the fridge or freezer for about 20-30 minutes. Also preheat your oven to 325F. 
This is a great time to clean up the mess you made.
30 minutes is up? Not yet? Okay during the last minute or so, line your cookie sheet with parchment paper. There is no need to grease the paper, but if you feel better doing so, go right ahead. 
Make ball type shapes out of the cookie dough, and press them down gently. This recipe should make 24 cookies (or 23 if you ate the equivalent of 1 in raw cookie dough, as I did...). Also, these cookies don't "fall" or spread like "regular" cookies do, so if you only slightly press down the dough balls, your cookies will be very round. For flatter cookies, press flatter (obviously). Bake 12 cookies at a time for 17 minutes. 
This is the perfect time for you to take your cats outside for a quick frolic on the patio. Also to get pissed off that your cats don't respond to their name when they are outside (even though they do inside!). Also to get especially irritated when you try to bring them in, and one basically yells "JUST KIDDING" as he pretends to run inside, then proceeds to hop the neighbour's fence. Pfft. Leave him there... You have better things to do. Like assemble a vacuum. Or contemplate making another batch of cookies. Or a grocery list. Or a list of lists you should make.   

Step 5-
When the cookies are finished, move them to a wire cooling rack. Let cool. Consume. Enjoy. Or consume one while it is incredibly hot, curse about how hot it is, but enjoy how melty and soft it is. 
Finished Product
these were clearly pressed down more than the ones above
xo,
Jennifer