Showing posts with label pasta. Show all posts

Sunday, 5 May 2013

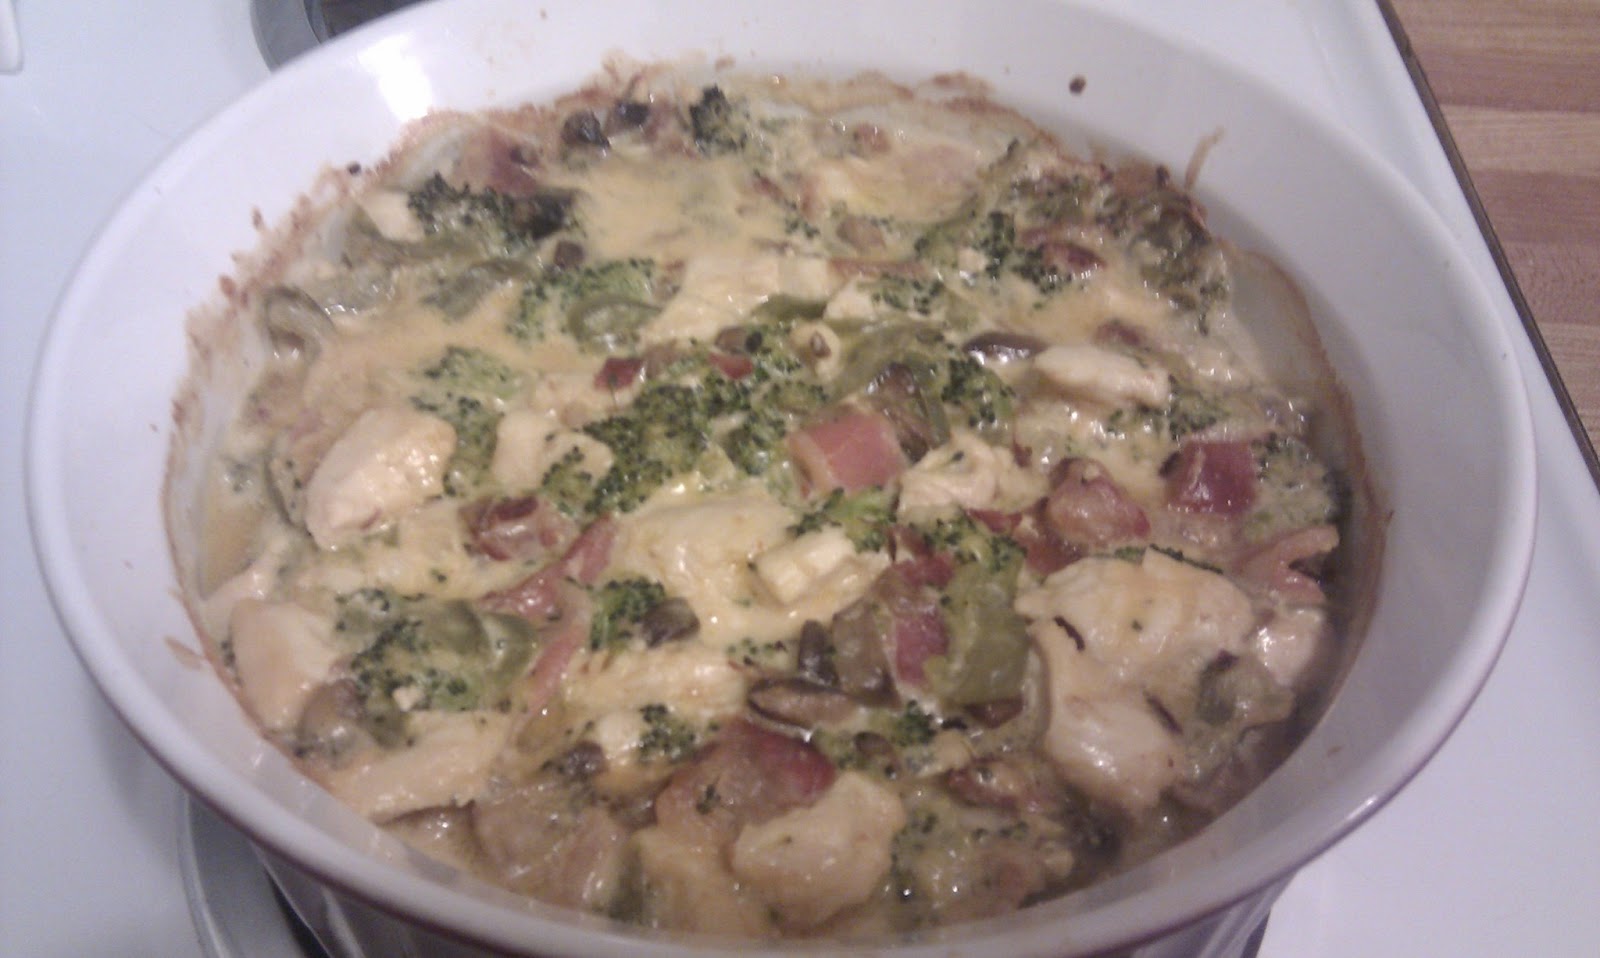
[CopyCat] Kitchen Sink Casserole

Okay, time to get back into the swing of things here. Exams are finally finished, and I've moved into a new place! I'm starting to get settled, too, and get my kitchen in order - tons more counter/cooking space and room for more kitchen accessories! Huzzah!

Following up from my last post, which I realize was a long time ago, I am posting another casserole dish. In particular, kitchen sink casserole. This is one of my favourites as it reminds me of hamburger helper. I love(d) that stuff! I never thought to make this, though, until my friend pointed me in the direction of this blog. There are tons of big meal recipes here that are intended to last a week. I love such recipes because they are great for a two-person household. Lunches and dinners! Yum! Try out the kitchen sink casserole recipe over at Caveman Keto if you want something jam-packed with stuff. My take is a little on the lighter side yet still satisfyingly filling.

You can use just about any meats with this recipe - I've used chicken breast, chicken thighs, ground beef, cubed beef, cubed pork, extra bacon... Though not all at once. I imagine you could also try it with tuna (yum, tuna casserole). Since the main meat choice is totally up to you, the nutritional values here excludes any meat other than bacon.


Serves: 6
Nutritional Information: 200 cals, 3 of carbs & 1g of fiber (2g net carbs), 18g of fat, 8g of protein

Prep Time: 25 minutes
Cooking Time: 40

Your Ingredients:


  • 1 lb of your choice of meat (I've used chicken in these pictures)
  • 6 slices of bacon (I use reduced sodium bacon)
  • 2 cups of cauliflower florets (broccoli florets also work)
  • 1 cup of sliced white mushrooms
  • 1-2 tbsp of unsalted butter, or olive oil
  • 1/4 cup of mayo
  • 2 tbsp of cream cheese (I am using light cream cheese)
  • 2 tbsp of parmesan cheese
  • ~130g of cheddar cheese
Sometimes I add other veggies into the mix, such as sliced green peppers, a bit of diced tomato, wax beans. Be creative!

Your Tools:
  • a baking pan large enough for anything from 1.5-3 quarts. I honestly can't remember which I used
  • a baking sheet & aluminum foil
  • a microwavable dish, or veggie steamer
  • a frying pan & utensils
  • aluminum foil
  • measuring cups
  • a cheese grater
  • a mixing bowl
The Directions:

A tip from Caveman Keto, which I agree with: try to multitask and have multiple things cooking at the same time, so you're not doing a lot of waiting around.

Step 1 -
Cover your baking/cookie sheet in aluminum foil and lay your bacon strips out on it. Pop it in the oven and turn up the heat to 350F (no need to preheat, the bacon will cook nicely as the oven heats up). 
Put the cream cheese in a bowl on top of the stove now (unless you took it out earlier to let it soften). 
Step 2 -
Chop up your desired meat into whatever shapes/sizes you feel appropriate. I "cube" most of my meat into 1 inch or smaller. Toss these in a frying pan with some butter or oil and fry on medium.
Cut/break your cauliflower (or broccoli) into florets or just chop it up into small pieces, roughly the same size or smaller than your meat. Using a microwaveable container, zap (or use a steamer!) your florets/pieces for 3-5 minutes. Zap a bit longer if the veggies are still hard.
Chop your mushrooms as well. If you're using green pepper, I suggest slicing that relatively thinly so it cooks nicely. When the meat is just about cooked, toss all the chopped veggies (except the florets) into the same, or a different pan. Continue to fry the mixture over medium heat.
Grate your cheddar cheese and set aside. 
Step 3 -
If your oven has finished heating up, the bacon should be ready. If not, leave it in for a couple minutes (or until it is cooked the way you like it). I find that for such recipes, softer bacon is better. If it is finished, take it out of the oven (leave the oven on!) and transfer the slices to some paper towel to drain. Or don't drain them if you want all that grease. Your call. In any case, let the slices cool so you can handle them later. Once cool, chop/cut/rip the pieces into smallish bits. 
Your florets should also be just about ready. To check, stick your fork in one. If it goes in easily, and they are kind of soft, the florets are ready. Also check those frying veggies!
Step 4 -
Dump meats and veggies into a mixing bowl. Add cheeses and mayo and stir. Feel free to add any spices you desire at this point. Transfer your mix into the baking pan and bake for 30 minutes at 350F. Then, for 5-10 minutes, broil the casserole.


Step 5 -
Remove casserole from the oven and let stand for 5-10 minutes before serving.
xo,
Jennifer

Sunday, 31 March 2013

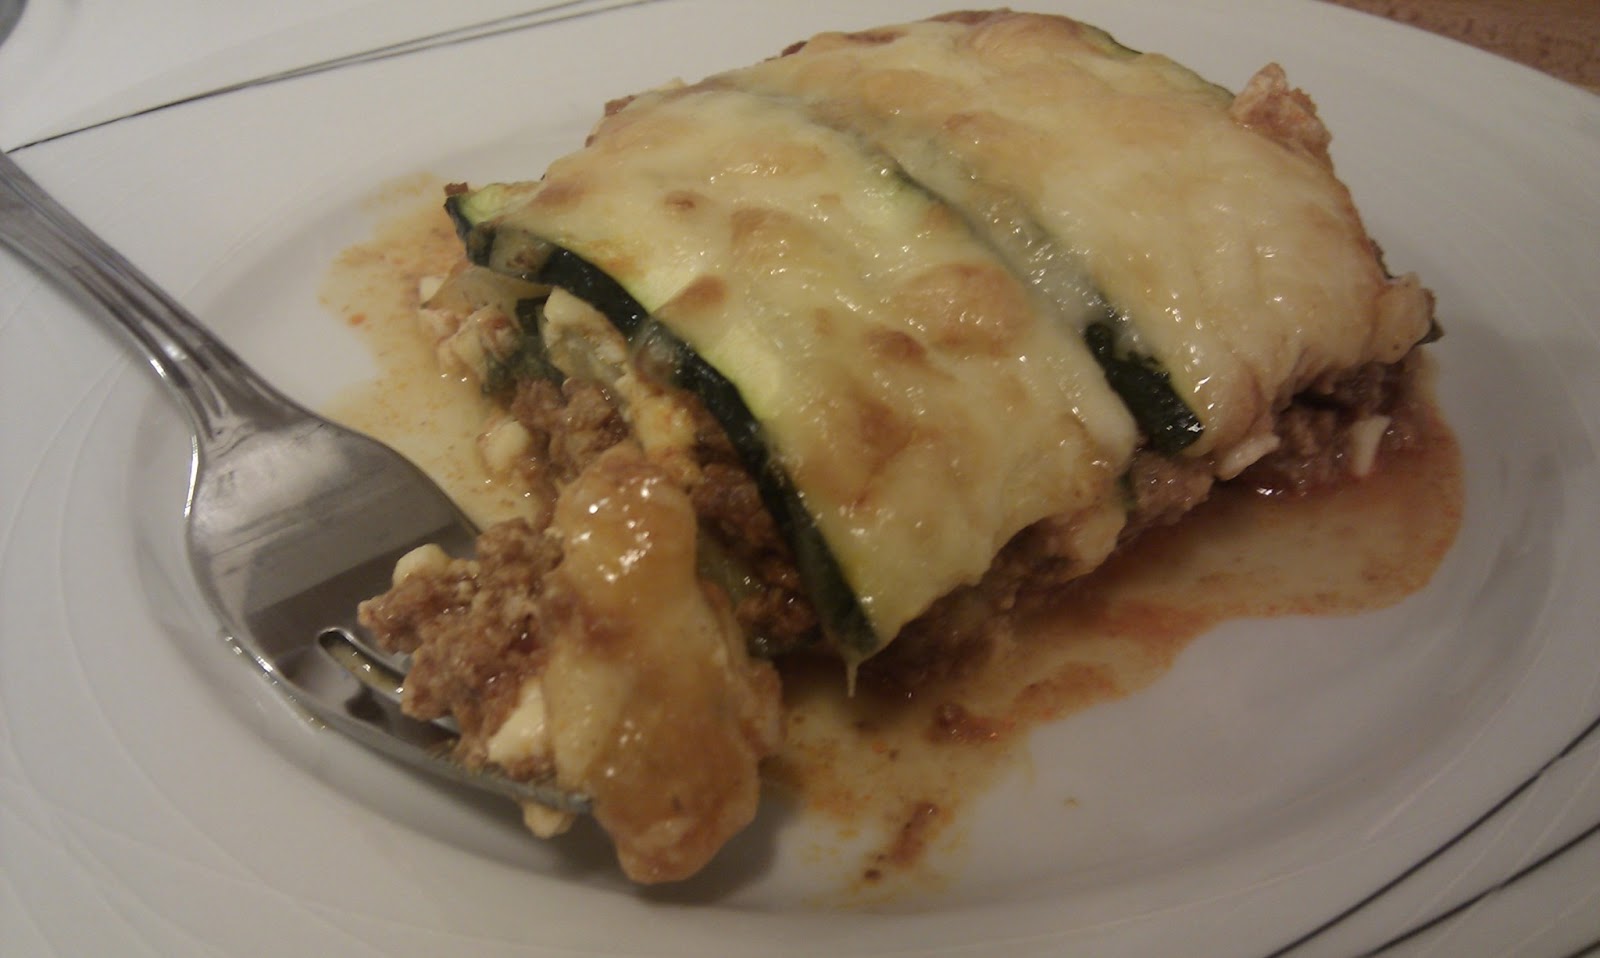
Zucchini Lasagna

Happy Easter! The only interesting things I've done this weekend (other than a deliciously huge breakfast with family today) is bake, play Bioshock Infinite, and get a new phone. Yea, no school work for me this weekend... Not because I'm done it all. Just because, well. Because.

If you're doing low-carb but always loved pasta, or you're like me and you can't get over that taste explosion of a casserole, you might want to check out some recipe using alternative "noodles". Many veggies can be used in place of noodles. However some people worry about over-powering tastes and textures. And these people are right, some veggies just aren't for everyone! I make many "pasta" dishes (such as spaghetti, lasagna, and "hamburger helper" type dishes) using several different veggies in place of noodles. In the upcoming weeks I will post a few more. Here are some examples to get us started:

This pale and cheesy casserole features my favourite "noodle". Can you tell what it is just by looking at it?
Of course, another casserole. We love them in our house. There's only two of us so they  end up being meals for days! Lunch to go, and left over dinner. Mmm. 
Who doesn't love a savoury kitchen sink casserole?
As mentioned, casseroles are a great lasting meal. Fresh veggies aren't even necessary, especially for the kitchen sink casserole (I mean if you have some left over steamed broccoli, toss that in your casserole! Yum!). If you are on your own a 9x13 casserole can provide lunch and dinner for a week. If it happens to be 2 or 3 people, maybe dinner for a week. Since there is two of us, I like to freeze at least two-three servings (for those days when I really don't want to cook), and portion the rest into lunch containers.

The lasagna we're going to make today is another recipe that I have used tons of times but just never bothered to post. Well now I'll do that. In order to have a "pasta" meal, we need some kind of "noodle". So for this dish we use zucchini. I know this is not uncommonly done, but unless you are experienced with making alternative "pasta" dishes, you might think "ugh why zucchini?". Well it's nutritious for one (check out this link, or do a google search for more information on the health benefits of zucchini). It also has a very mild flavour, especially when paired with other flavourful things - the zucchini will not over-power the other things in your meal. You will notice, however, that zucchini doesn't have that chewy pasta texture. Which is great. More cheese, meat, and saucy flavours/textures!

Let's take a look at today's dinner...

Very cheesy, very filling, low-carb dinner


Servings: 12
Nutritional Information: 417 cals, 9g carbs & 2g fiber (7g net carbs), 26g fat, 34g protein

Prep Time: 20-40 minutes (~20 minutes just for zucchini)
Cooking Time: 45 minutes

Your Ingredients:

The "Pasta"
  • 4 medium zucchinis 
  • salt
The Cheese Layers
  • 2 cups of cottage cheese (I used small curd 4%m.f.)
  • 2 whole large eggs
  • 120g mozzarella cheese
  • 1/4 cup of parmesan cheese
  • choice seasoning
The Meaty Layers
  • 2lbs of ground beef* (I use medium)
  • 1 can of tomato paste
  • 1 cup choice pasta sauce (Original Ragu is what I generally use but other tomato sauces work)
  • choice spices (I use chilli powder, minced garlic, and some salt)
Your Tools:
  • Cutting board, and knife or mandoline slicer (e.g., this is the one I have)
  • Some paper towels
  • One medium-large mixing bowl
  • A pot big enough for 2lbs of ground beef & sauce
  • A 3 quart casserole dish (9x13 inches)
  • A wooden spoon or spatula, and a whisk
*If you don't want a lot of meat you can opt to use 1lb and still make a lasagna with the same dimensions. I've done this and it is still pretty filling. Nutritional values and instructions will be for 2lbs. 

The Directions:

Step 1 -
The first thing we need to do is deal with making a fauxpasta for our noodles. Cut the ends off all 4 zucchini. Slice (about 1/8th of an inch) each longways to make noodles. As listed under "Your Tools", a mandoline makes slicing much easier and the noodles more uniform. When finished, wipe each slice (both sides) with a paper towel to remove excess water.
Zucchini is a very watery squash. The water will present itself while cooking the zucchini. Unfortunately, our lasagna will be very runny... Unless we can get some of that moisture out! Let's do that. Put a sheet or two of paper towel on a flat surface (like your counter or another cutting board), sprinkle salt on it, then lay some slices of zucchini over the salted paper towel. Lightly salt the topside of the slices, and cover with another sheet or two of paper towel. Repeat this process until all your zucchini is salted. Put something heavy-ish (I have a pretty solid cutting board I use) on the pile.  

Step 2-5 -
While the zucchini sweats we can get started on the rest of the meal. You'll want to do these next few things at roughly the same time, so everything is ready when actually building the lasagna. First preheat your oven to 350F.
Put your ground beef in a medium sauce pan with about 2 tablespoons to 1/4 cup of water. Cook on medium heat.
Shred mozzarella cheese
While the beef cooks, whisk eggs in the mixing bowl. Add the cottage cheese and any seasoning you prefer. Add the parmesan cheese. Whisk together until blended and set aside. 
When the ground beef has browned, drain in a colander to remove fat and water. Put the drained beef back in the pot. Add seasoning and stir. Tomato paste and pasta sauce and stir. Heat on low-medium for a 2-4 minutes and then remove from heat.
Step 6 & however many layers... -
After 10-20 minutes remove paper towels and wipe excess water off the zucchini strips.
Line the bottom of your 3 quart casserole dish with some of the egg & cottage cheese mixture. We want 2-4 layers of cheese and meat so don't put it all in right away. Add some meatsauce, then some zucchini noodles. Make sure new sweat beads didn't form on your noodles before putting them in the casserole dish. Repeat this process until you run out of cheese and meat, or noodles. Top it all with the shredded mozzarella cheese.


Bake lasagna for 40 minutes. Broil for an additional 5-10 minutes. Remove from the oven and let it stand for 10-15 minutes before serving. Enjoy!
The Finished Product

As you can see, even after extracting some moisture, water still seeps out! There are other more involved methods (such as grilling or baking the slices before using them as noodles) you can try if you find your lasagna to be TOO watery. I find that the lasagna itself doesn't have a watery taste or texture and so I'm willing to deal with this result.
xo,
Jennifer


Sunday, 14 October 2012

Spaghetti Squash Casserole

Okay gosh. I am swamped with studying and taking care of my household and trying to be an involved student. So I'm surprised this is even being posted. I've actually taken a request for crackers as well which I wasn't able to get around to today... :(! Sorry, pearcington! Soon!

I promised my friend crepes (yummy, I know) that this casserole would be the next thing I post. So here it is.

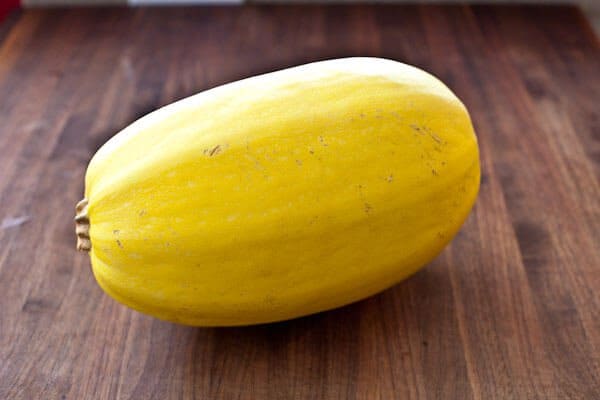
Spaghetti squash is called such because the meat of the squash naturally splits into strands that resemble pasta, particularly spaghetti (or spaghettini). This is a fantastic choice if you are a low-carber and have a serious craving for pasta. Spaghetti squash is incredibly mild flavoured and goes well with just about any sauce. Thus, it is perfect as a pasta substitute. I personally have used white and red sauces with my squash, as well as having served it with butter and parmesan cheese alone.

This casserole is great on its own but also works nicely as a side (especially if you're having steak... mmm!).

Serving Size: 10ish (I forgot to measure this accurately but we got 10 "scoops" servings)
Nutritional Information: 195 cals, 9g of carbs and 2g of fiber (7g net carbs), 13g of fat, 12g of protein

Prep Time: 25 minutes
Cooking Time: 30 minutes

Your Ingredients: 

this is not my image. thanks google.
  • 1 whole spaghetti squash
  • 3 cups of broccoli 
  • 1 cup of cottage cheese
  • 1/4 cup of parmesan cheese
  • 1 to 1 1/2 cups of cheddar cheese, grated
  • choice seasoning

Your Tools:

  • A 1 1/2 quart casserole dish
  • A cheese grater
  • A cutting board & knife
  • A fork

The Directions:

Step 1 -

Preheat your oven to 350F.

Step 2 -

Cook your spaghetti squash. There are many ways to do this so I will outline a few options:

  1. First, use your fork to poke holes all over the squash, as deep as the fork will allow. Next, either inside a microwaveable dish or not, microwave your squash for 10-15 minutes (I did 12 minutes). If you do not poke holes in your squash it will most likely explode into a really terrible mess in your microwave.
  2. First, use your fork to poke holes all over the squash, as deep as the fork will allow. Next, boil the squash for 20 minutes or so. 
  3. First, cut your squash in half length-wise (this is a pain in the behind!) and scoop out all the seeds and mush from the center. Next, place in a microwaveable dish and microwave for 10-15 minutes.
  4. First, cut your squash in half length-wise (this is a pain in the behind!) and scoop out all the seeds and much from the center. Next, brush the exposed flesh around the open edges with oil and place open-side down on a baking sheet. Bake at 350F for 20 minutes.
For this recipe I microwaved my whole squash poked with so many holes. This method has the fastest cooking time, and the squash is easier to cut after it's been cooked. 
Okay leave your squash to cook and move on!

Step 3 - 
As a filler food I used broccoli, primarily because I had extra that I didn't want to go bad and this was the easiest way to use it at the time. But it was actually delicious. If you really despise broccoli, try cauliflower or uh... spinach? Experiment!
Anyway, go ahead and chop up your broccoli florets like so:


Put the broccoli aside and grate your cheese. By the time you are done these things, the spaghetti squash should also be finished.

Oh p.s.! You can lightly steam your broccoli if you don't want it to be really crunchy in the casserole. I kept mine raw and still enjoyed it.

Step 4 - 
The squash is going to be really fricken' hot no matter how you've cooked it so wear some oven mitts. You will want to slice your squash length-wise and then scoop out all the seeds and mush from the very center. 


Step 5 -
Using your trusty fork, split the squash into strands like so: 

You can do this easily just by scraping with your fork. Put all your squash strands into a bowl for now!


Step 6 - 
Add your chopped broccoli florets, cottage cheese, parmesan cheese, and your choice of seasoning to the squash strands and mix them up.


Step 7 - 
In your casserole dish, start to layer your pasta mixture and cheese (pasta/cheese/pasta/cheese) like so: 

Make sure your final layer is a nice layer of cheese!

Step 8 - 
Bake your casserole in an open dish (no lid) for 25 minutes and then another 5-10 minutes on broil. Once finished, let it cool for a few minutes and enjoy!


Finished Product


I should really get a camera.


xo,
Jennifer